You can now also keep up with what's happening on the MC-95 Reverse Trike Motorcycle Group page on Facebook! Check it out.
Trying for More Speed!
I tried changing the rear sprocket from the stock 30 teeth, 530 pitch, to a 26 teeth, 530 pitch sprocket. I was able to take the triek out over the weekend ...... in January! Ihad the GPS set up and I weas still only getting 51.5mph, which was about what I got with the 30 teeth sprocket.
Modifications and Add-Ons Here are some photos and notes showing modifications and add-ons that may improve your triking pleasure. As always, do not accept these as approved - you modify and add-on at your own risk.
The MC-95-250 is also called the KM250MB2
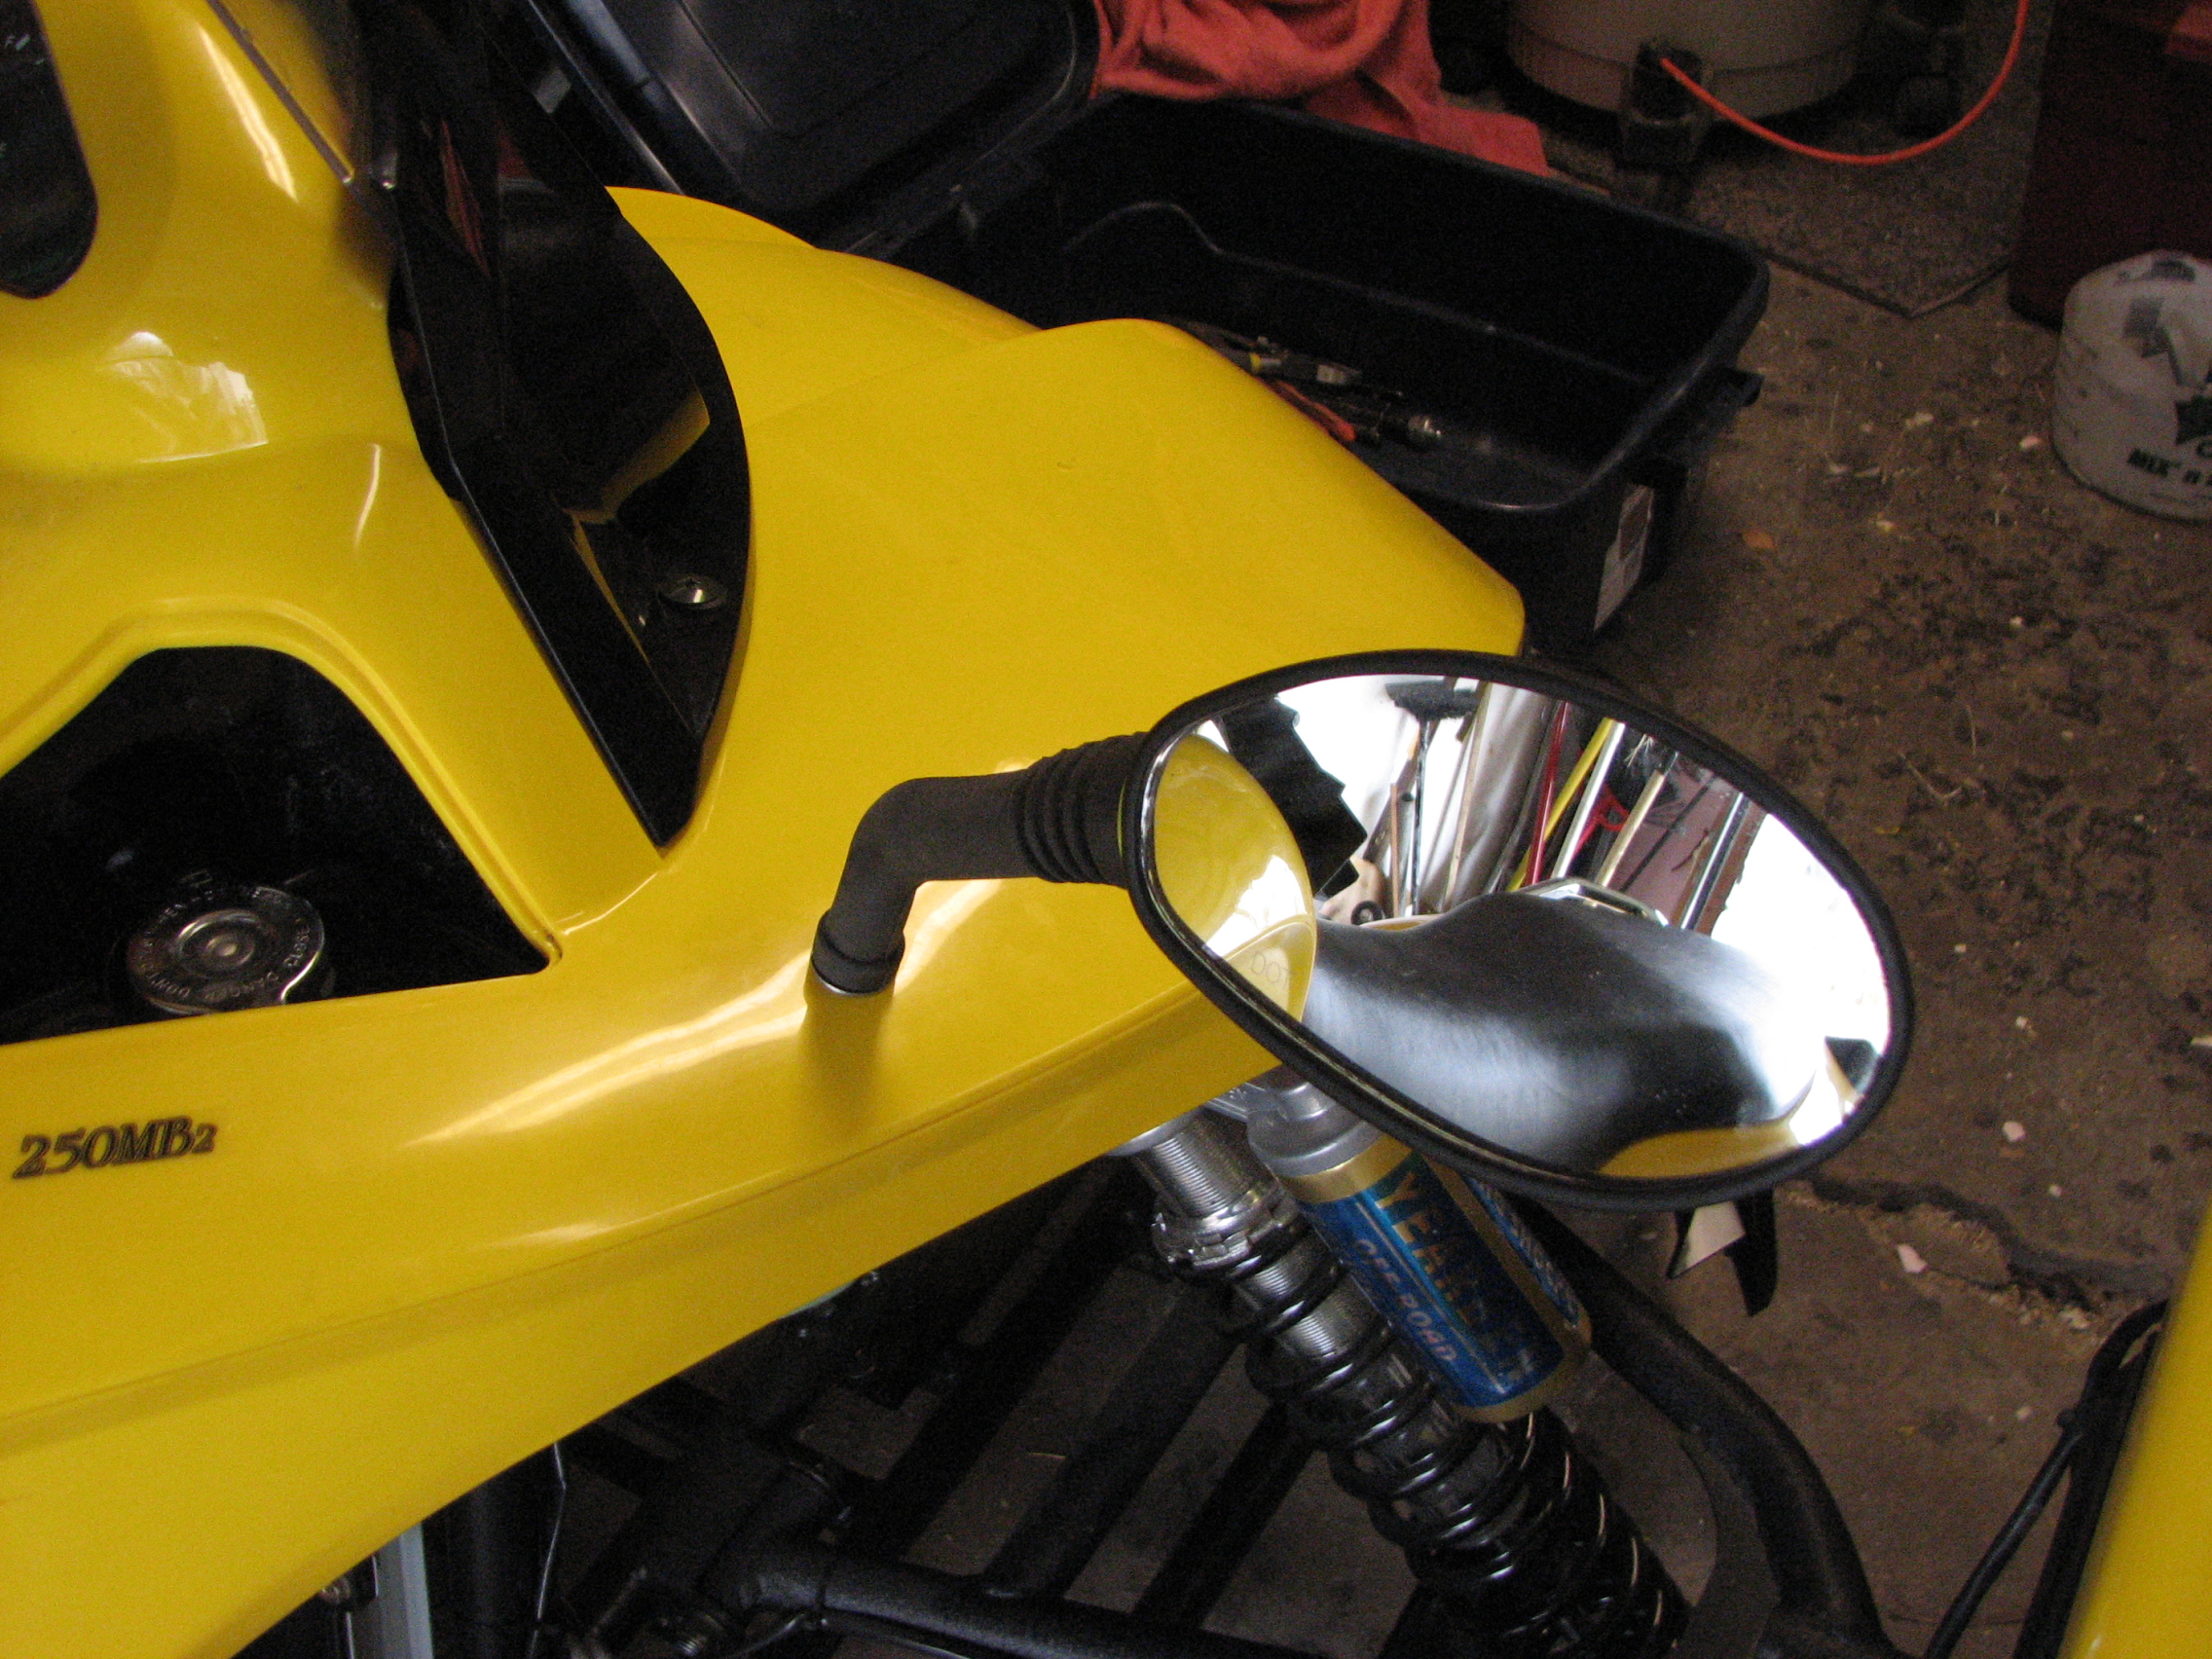
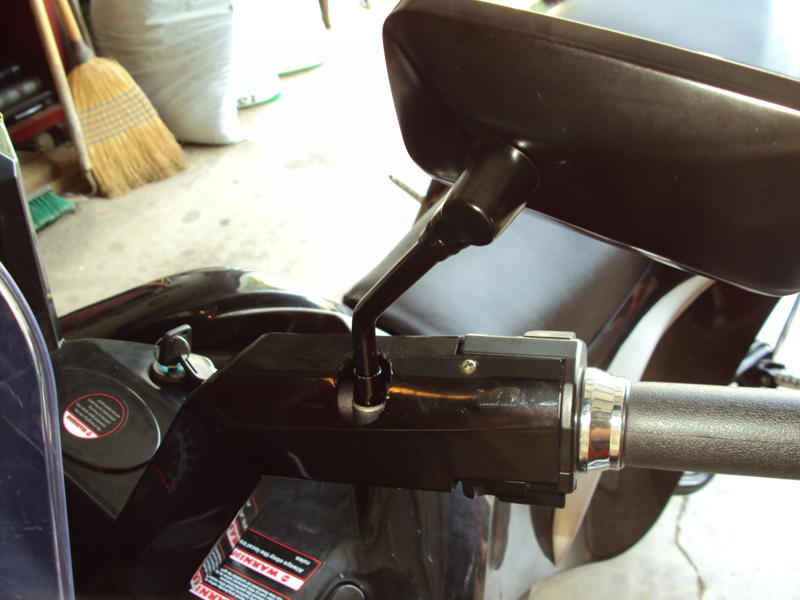
Moving the mirrors I decided to move my mirrors as I got fed up viewing my own armpits all the time! See top photo.
It is a simple procedure. Mark a location in line with the edge of the windshield assembly, and about 2 1/8" in from the edge. Double check that there are no items under the bodywork below this mark. Removing the two screws that hold the windshield in place, and sliding the windshield off forwards will make it easier to reach inside the bodywork.
Purchase two M10x1.25 metric stainless steel locking nuts, two metric large diameter SS washers (M10 hole, or big enough for the mirror threaded rod, also called penny washers), and two smaller M10 metric SS normal size washers from you local Ace, True Value or similar hardware store, and a 10mm drill bit if you don't have one (you can buy an imperial size instead, or use a tapered drill (Harbor Freight, etc).
Back at the trike, drill on your marks, just big enough to allow the threaded end of the mirror stalk to pass through. There is a nut already on the mirror stalk. Wind it up the thread as far as it will go, and then turn it back a couple of turns to allow for adjustment.
Put a smaller SS washer on the end of the threaded mirror stalk, push the end through the bodywork, add a large SS washer to the underside of the bodywork threaded rod, followed by the M10 SS locking nut, and tighten up. If the Locking nut is hard to screw on, you may be better off screwing it on before you fit the mirror to the trike, so that it goes on, then remove it and do the above.
Once the locknut is up tight enough, position the mirror stalk to give you the perfect mirror angle, and tighten the top nut. Then push the rubber boots into place.
As usual, writing the procedure makes it sound harder than it really is, but the result is worth the effort. I can now see well back with no blind spots!
 Passenger Intercom system
Anne and I use a relatively cheap intercom purchased from Amazon.com to chat as we ride together.
The Nady PMC-2X Driver-to-Passenger Motorcycle Intercom cost about $58.00 and works OK at lower speeds up to around 35mph. Above that it is harder to hear without talking loudly as the road noise and wind rush take over. Having said that, it is still much better than nothing, and with some protection for the mic it may be possible to cut out some to the interference.
The connectors are OK, but I do get some crackling if the plugs are not seating fully. I may replace the connectors or re-solder them to inprove the connection. Having said that it does work well at the lower speeds and with the full face helmets it is good enough for us.
Read the reviews on Amazon to make up your own mind. If you come across or use something better, and not too expensive let me know and I'll include it here.
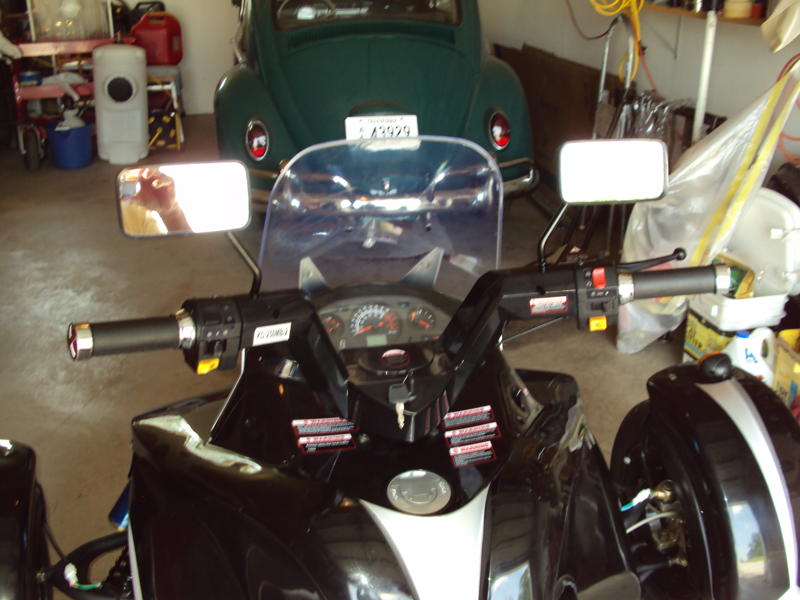
Click the link below to see the Nady PMC-2X Driver-to-Passenger Motorcycle Intercom at Amazon.com (under$60.00) : Quick Links to ONLINE Shopping Sites John's Mirror Modifications Today i replaced the mirrors on my bike. I ordered my new mirrors from J&P Cycles.com. The ones that came with the bike were useless as they wouldn't stay in position and as you know you couldn't see much except your arms. Here are pics of the new ones.
Need Replacement or Custom Mirrors? Then try Amazon.com
|
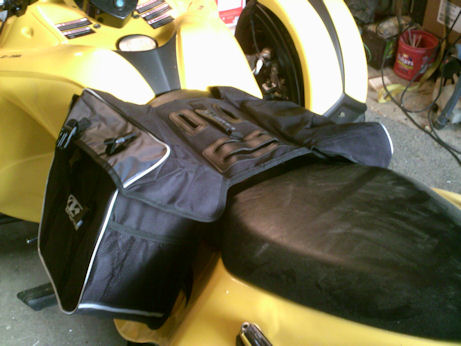
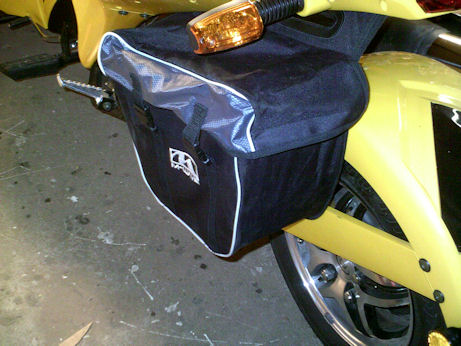
Quick Links to ONLINE Shopping Sites Adding a Saddlebag As the trike has virtually no storage space I decided to add a saddlebag. I found a cheap pair on Amazon.com Look up panniers. I cut off one bag and used the mid section to fit inder the trim. it was a bit of a challenge as I had to remove the grab handle and the lower trim to get to the trike frame. There are several screws as well as the bolts and nuts to remove and you need a couple of extra universal joints in the wrist and forearm to get to them. The end result looks OK, and it worked well enough, but after a few miles of riding, I realised that it was going to rub on the rear fender and set about welding up a support frame. Once I find the photos I took I'll add them here. Quick Links to ONLINE Shopping Sites Click the link below to see the M-Wave Double Day Tripper Bicycle Pannier
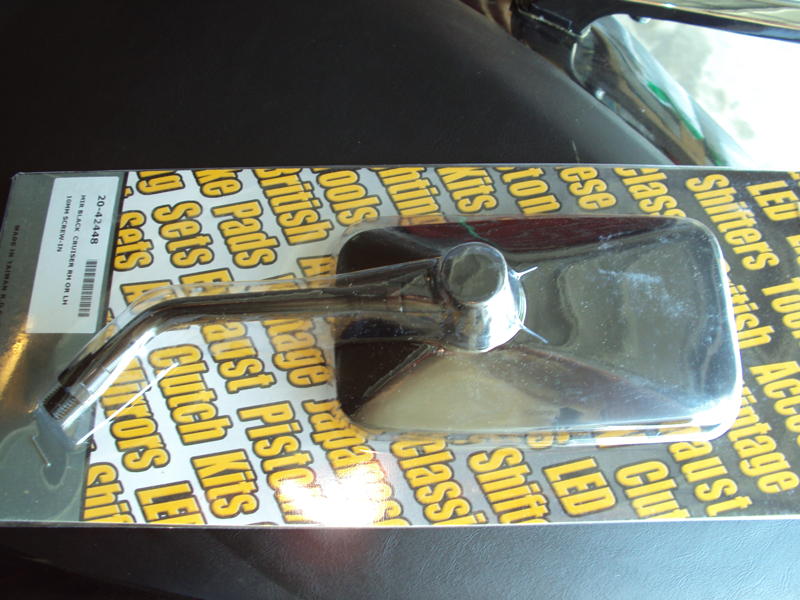
GREAT INFO ABOUT THE CHINESE REVERSE TRIK, I BOUGHT MINE THROUGH SUPERIORPOWERSPORTS.COM, ONLY PROBLEM I HAVE IS THE WRAP WAS TOO TIGHT, SO THE LEFT TURN SIGNAL SNAPPED OFF. I ALSO MODIFIED MY MIRRORS BY REPLACING THEM WITH
Piaggio Vespa Scooter Extra long Motorcycle mirrorBOUGHT ON EBAY FOR $62 EACH, THEY EXTEND 3.5 INCHES PAST THE FACTORY MIRRORS, AND WERE A PERFECT FIT, I'M STILL TRYING TO WORK OUT SOME SADDLEBAG STORAGE BECAUSE THE DEALER TOLD ME IT HAD UNDER-SEAT STORAGE, BUT, I FOUND THAT NOT EVEN THE INCLUDED TOOL KIT WILL FIT UNDER THERE, WILL KEEP YOUR SITE POSTED WITH ANY OTHER STUFF I FIND, MANY THANKS.
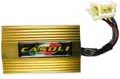
SINCERELY, STEPHEN 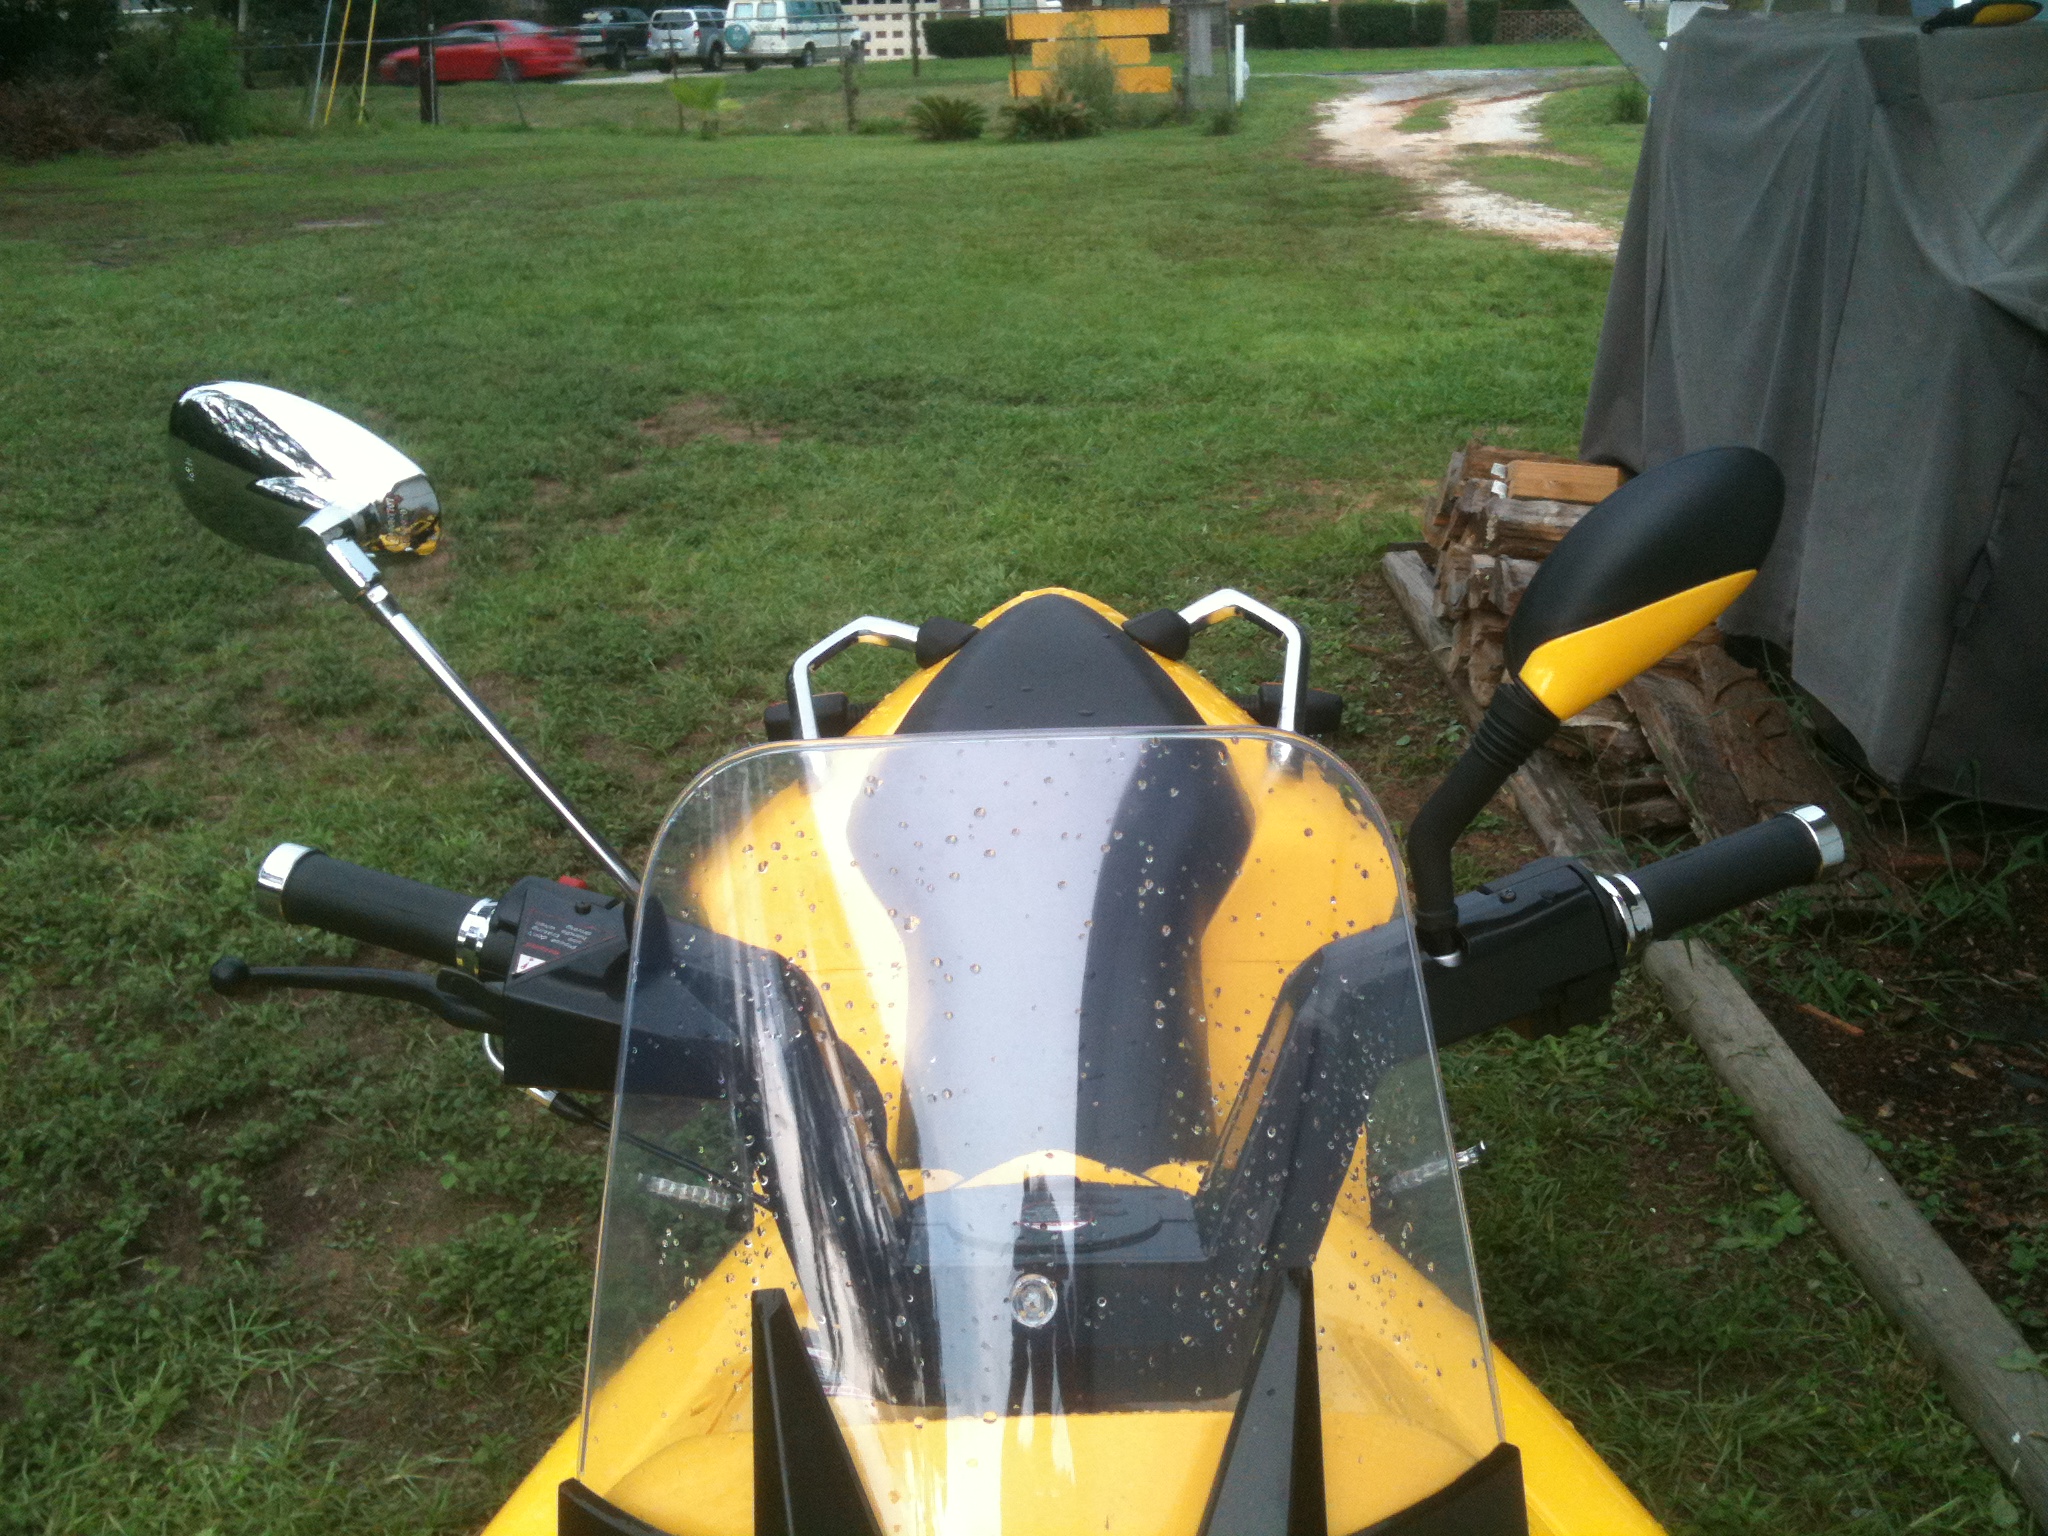 MY SISTER SAID THE PHOTO I SENT HER MADE THE TRIKE LOOK LIKE A TRANSFORMER, SO, I CUT THE AUTOBOT LOGO IN GOLDEN YELLOW SO YOU DON'T REALLY SEE IT RIGHT AWAY, I HAVE A SMALLER VERSION ON THE TAIL FENDER AND ON MY HELMET, KANDI USA, WHO MAKES THESE TRIKES, SELLS THEM UNDER THE NAME CYCLONE SO I MADE A LOGO WITH A GRAPHIC I CREATED THAT LOOKS LIKE AN OVERHEAD VIEW OF A HURRICANE, REPLACED THE O IN CYCLONE WITH THAT AND THERE YOU GO. THE SLOGAN I'M GOING TO ADD LATER WILL BE "RIDE THE WIND", I THOUGHT WITH THE NEW TRANSFORMER MOVIE OUT, WHAT WOULD BE MORE COOL THAN A TRANSFORMER, WHO CONVERTS TO A REVERSE TRIKE AND IT'S NAME IS CYCLONE. I ORDERED A LUGGAGE TRUNK THAT I'M GOING TO TRY TO MOUNT OVER THE PASSENGER SEAT AREA,WILL KEEP YOU POSTED ON THAT PROJECT, AND TAKE STEP-BY-STEP PHOTOS OF HOW I PUT IT TOGETHER, MORE LATER, HOPE YOU AND YOURS HAD A GREAT WEEKEND. MY SISTER SAID THE PHOTO I SENT HER MADE THE TRIKE LOOK LIKE A TRANSFORMER, SO, I CUT THE AUTOBOT LOGO IN GOLDEN YELLOW SO YOU DON'T REALLY SEE IT RIGHT AWAY, I HAVE A SMALLER VERSION ON THE TAIL FENDER AND ON MY HELMET, KANDI USA, WHO MAKES THESE TRIKES, SELLS THEM UNDER THE NAME CYCLONE SO I MADE A LOGO WITH A GRAPHIC I CREATED THAT LOOKS LIKE AN OVERHEAD VIEW OF A HURRICANE, REPLACED THE O IN CYCLONE WITH THAT AND THERE YOU GO. THE SLOGAN I'M GOING TO ADD LATER WILL BE "RIDE THE WIND", I THOUGHT WITH THE NEW TRANSFORMER MOVIE OUT, WHAT WOULD BE MORE COOL THAN A TRANSFORMER, WHO CONVERTS TO A REVERSE TRIKE AND IT'S NAME IS CYCLONE. I ORDERED A LUGGAGE TRUNK THAT I'M GOING TO TRY TO MOUNT OVER THE PASSENGER SEAT AREA,WILL KEEP YOU POSTED ON THAT PROJECT, AND TAKE STEP-BY-STEP PHOTOS OF HOW I PUT IT TOGETHER, MORE LATER, HOPE YOU AND YOURS HAD A GREAT WEEKEND.SINCERELY, STEPHEN Quick Links to ONLINE Shopping Sites: Powering a GPS on the MC-95 I recently added a Magellan GPS to the trike. It is not all that easy to see in bright light but it works well, unless the sun is right behind me. I'd added it so that I can later wire the sound output into my intercom. Then I'll be able to get directions, even if I can't see the screen - I'd rather watch the road anyway. I started by going to Walmart and purchasing a couple of 12volt boat (waterproof) power sockets. I then bought an power adapter for the Magellan GPS, which won't run on a normal USB supply. The one I got off Amazon works great and was very cheap (around $10.00 including shipping). I wired the power socket in to the lighting wiring. and fitted it into the seat compartment just behind the battery. I used Scotch Locks quick connects from my auto store. I used the power connection USB type cable to connect the power adapter to the GPS, running the calbe behind the trike's body panels. The power adapter powers up only when the lights are switched ON AND the ignition key is turned ON. I made up a bracket to hold the GPS out of acrylic from my local Ace Hardware store. Acrylic is easy to bend if you apply a little heat carefuully, as as not to melt it. I used a gas BBQ lighter running the heat across the bend line one both sides and then folding the acrylic once it was pliable enough. Industrial strength self stick Velcom and a acrylic clip, also made the same way as above completed the mount. It works really well. Photos soon! I got the GPS Power adapter from: Trying a Different CDI!
It looked OK, was gold anodised aluminum, and had the same end connector so I went ahead and purchased it. It came with no information, but it should have been a simple plug in. No mounting info or parts were provided. As soon as I fitted the CDI it blew the 25Amp fuse. I double-checked everything, replaced the fuse and this time the CDI started smoking! I guess it is now a smelly paperweight! I went back to the original CDI and it worked perfectly. I suspect that the CDI's wiring is NOT compatible with the MC's wiring. I tried to make contact with Randy Wong at Scoopterparts4less.com, and got no response - both times. Needless to say, I won't be purchasing anything from that business again! Want Custom Decals? Contact Stephen for more details at: sbparkes@mail.com 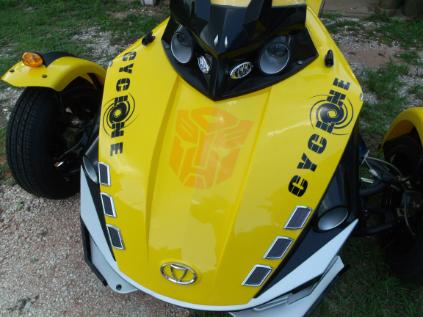 |


